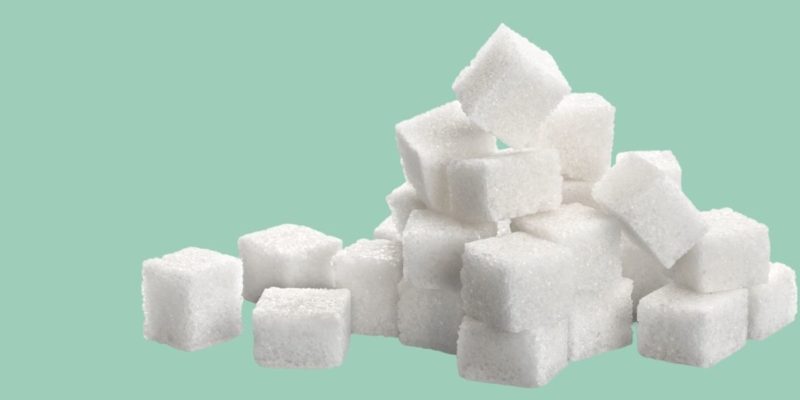
Sugar waxing: A DIY sugaring recipe

It’s 2021, and beauty treatments at salons and spas are not as easily accessible as they once were.
If you enjoy a beauty routine, you shouldn’t have to give that up, even if the only people you see nowadays are colleagues over zoom! A beauty routine can do wonders for your mood as well as ensure you’re always looking and feeling your best.
At-home beauty treatments are higher in demand than ever before, and if you’re looking for an alternative to your usual waxing lady (or man), we’ve got you covered.
In fact, we may have something even better - and pain-free!
If you’ve baked too many cakes and are looking for an alternative to use all that sugar, then meet sugar waxing.
This article will explore what sugar waxing is, how you can make your own, and use it yourself!
What is sugar waxing?

Also known as ‘sugaring,’ sugar waxing is an alternative method of hair removal to the hot wax or waxing strips you may be familiar with.
Sugar waxing is as sweet as it sounds and is made from a heated up combination of sugar, lemon and water, to form a paste.
Don’t underestimate the hair removal power of these three simple ingredients!
The paste works by pulling the hair out of the root, leaving you hairless and smooth for longer.
The great thing about sugar waxing is that you can apply it to many areas of the body because it causes much less irritation than traditional waxing as it doesn’t adhere to the skin. Feel confident knowing you can use sugar wax on all types of body hair, including:
- Bikini lines
- Face
- Underarms
- Arms
- Legs
- Stomach
- Back
So while you can still use hot wax and wax strips at home, sugar waxing is becoming more preferable alternative, as it’s:
- Relatively pain-free
- Uses simple pantry ingredients
- Easy to make at home
- Smells delicious
Are there any other benefits to sugar waxing?

Aside from being easy to make and being left with smooth skin for 4-6 weeks, sugar waxing can also help lightly exfoliate the skin.
As dead skin cells sit on the surface, these will be removed as the sugar wax comes into contact with them to remove the hair.
Exfoliating is often overlooked or seen as an additional pampering step when it shouldn’t be.
Benefits of exfoliating regularly include:
- Keeping pores clean
- Skin looking radiant
- Improve skin texture
- Stimulates cell renewal
- Helps with circulation
If you’re waxing, your ultimate goal is likely to remove hair - but exfoliation is a welcome bonus!
What’s the difference between traditional waxing and sugar waxing?

Aside from sugar waxing using different ingredients and being much less painful, there is a difference.
Traditional waxing goes onto the hair the same way it grows and is then pulled off in the other direction.
However, sugar waxing is the opposite. Sugar wax is applied against the direction the hair naturally grows and then removed in the same direction as it grows.
Pulling away in the same direction as the hair grows means the hair follicles are less likely to snap, resulting in a much smoother result.
Skin irritation often occurs with traditional waxing, which happens a lot less regularly with sugar waxing. This is because traditional waxing adheres to the skin, while sugar waxing adheres only to the hair.
If you want to give it a go yourself, read below for a step-by-step guide.
How to make sugar wax

The best thing about sugar wax is that it’s made from three ingredients you’ll likely already have in your kitchen. And if you don’t, you don’t have to fret about going to any niche stores to find them.
Sugar. Lemon. Water.
You can probably start creating the wax right now!
If you can, read below to see how.
Sugar wax recipe
1 cup of sugar (granulated sugars work best, put the icing sugar down)
¼ cup lemon juice, either fresh or from the bottle
¼ cup water
Thermometer
Saucepan
A bowl with water (either cold or warm)
Storage jar
- Pour the sugar into the saucepan.
- Pour in the ¼ cup of water and lemon juice. Make sure all the sugar is covered. If it isn’t, add a little bit more of each.
- Turn the heat up medium, do not go too high as this will quickly burn the sugar.
- Do not stir! It may be tempting but stirring causes the sugar to crystallize. Again, Do. Not. Stir.
- Keep a close eye on the mixture; it will turn a light caramel color, and once it does, take the saucepan off the heat. If you have a thermometer, it’s ready at 240˚F.
- Wait for the mixture to cool. Don’t be tempted to use it straight away, as hot sugar seriously burns.
- When it’s cool, you’ll be able to hold it like a ball and stretch it without sticky, sugary residue on your hands. If there is, it means you’ve used too much water.
- Once you’re satisfied with your candy ball, pop it into storage. I’d recommend greasing the jar/tub as it will make it easier to get the sugar wax out.
Sugar wax lasts a while if kept in an airtight container. You’ll know when it’s time to throw it away and make some more when it smells a little funky or changes in appearance.
If you’re ready to use your sugar wax, we’ve got some steps for you!
How to use sugar wax?

Hold on and don’t get too eager; there are a couple of steps to follow to ensure your skin is prepared before applying the sugar wax.
- Allow your hair to grow for 4-6 weeks
- Exfoliate the area that you are applying sugar wax too
- Make sure skin is clean and dry -hold off the moisturizer and deodorant!
It’s also important to note not to use sugar wax on sunburnt skin.
Follow the above, and you should be freshly prepped and ready to apply the sugar wax!
- Take your ball of sugar wax and start at the bottom of the area where you are removing hair; press the ball into the skin, going against the direction the hair grows.
- Keep the ball in that position, but also stretch it to cover more of the area.
- Once in place, hold your skin taut and then pull the sugar wax away in a sharp motion to pull out the hair.
- When that area is smooth, move onto the next area and repeat the process.
- Once satisfied, clean the area with warm soapy water.
- Admire your super smooth skin!
Will I get ingrown hairs?
Ingrown hairs often occur with any hair removal process, whether shaving or waxing.
Sugar waxing minimizes the chances of ingrown hairs due to the way it pulls out the hair. As the wax is whipped off the way the hair grows, the hair is less likely to break, which is why ingrown hairs occur.
While sugar waxing doesn’t guarantee the end to ingrown hairs, there are a couple of things you can do to minimize them.
- Exfoliate and moisturize regularly
- Prevent picking and tweezing
If you already suffer from ingrown hairs, or perhaps they appear often and as painful spots, consult a medical healthcare professional as they may choose to prescribe a strong cream.
Are there any side effects?
While irritation is less likely to occur, it is still possible, especially to those with sensitive skin.
Irritation could take the form of itchiness or red skin but is usually only temporary.
If this does occur, refrain from scratching the skin and speak with a healthcare professional to find a cream that will soothe the skin.
Avoid sugaring on any sunburned areas, and if you do have an existing skin condition, again, speak with a healthcare professional to see if sugar wax is safe for you to use.
Wrapping up
Waxing is often a beauty treatment that we don’t look forward to. Even if you’re yet to try it, you know it isn’t exactly going to feel like a massage. However, sugar waxing takes the pain out of waxing, with the same result making it a great alternative.
Or, perhaps you’re looking for new at-home beauty treatments to try. Sugar waxing is a great one to start with, as you can quickly whip up the wax at home without first having to visit a store.


